Saturday, September 24, 2011

Penny Black Critter Card Challenge

This week on the Penny Black Blog, the card challenge is to create a "Critter" card using one of the many Penny Black Critter images - the mice, the hedgies, the cats, the bears... So many cuties to choose from, where do I start? Well, once I got creating, I couldn't really stop at one now, could I?

This first card was relatively straight forward to create. I first die-cut a rounded square using a Lifestyle Crafts Rounded Nesting Squares die. Keeping the die in place, I created a simple background by alternately masking and sponging Tumbled Glass and Shabby Shutters distress ink. This kept a white border around the background to help "frame" the image. Then I stamped the super-cute little hedgehog from Penny Black 30-029 wonderful clear set with Memento Tuxedo Black straight onto the background, then again on a small piece of white cardstock. I coloured the white piece in with TRIA alcohol markers, then cut out just the hedgehog and stuck it over the background with foam tape. A tiny bit of stickles was added to the flowers. The image was then layered onto some backing card, and the large scalloped border at the bottom was created with the Spellbinders Edgeabilities Classic Scallop border die. The greeting is a 7gypsies Library stamp.

For this card, I created it pretty much the same way as the one above, except I used Scattered Straw distress ink for the ground, and the two gift-bearing hedgies from the same Penny Black 30-029 wonderful set. The hot pink frame is die-cut from Lifestyle Crafts Nesting Frames 4, and the purple faux scallop ribbon is diecut using Die-namics Scalloped Ribbon die. The greeting is from Hero Arts LL662 Small Greetings and is punched with circle & scalloped circle punches.
I have to admit that I got the Penny Black 30-066 eat cake clear set pretty much for this image alone. Who can go past this adorable little bear and the sweet smiling tortoise? The image is layered onto a Nesting Lace Circle diecut from Lifestyle Crafts. A Fiskars scalloped border punch was used to create the cream diagonal panel at the back. The greeting is from Hero Arts CL480 Wish You Were Here clear set and is stamped with Versafine Vintage Sepia. A few sakura flower punchies with a rhinestone complete this fairly straight forward card.

The only extra step in this card is that I created the patterned paper for the lace circle frame myself by first inking up a piece of white cardstock with Tumbled Glass and Broken China Distress ink, then I sprayed it with Sea Glass Glimmer Mist. After it dried, I stamped on it randomly with Penny Black 4180J reverie using Encore Ultimate Metallic Blue ink. Then I diecut the lace circle out with a Crafts Nesting Lace Circle die. I touched up any empty spots by stamping with reverie again. The dark blue card blank was diecut with a large circle die from Lifestyle Crafts Nesting Circles set.

Sunday, September 18, 2011

Penny Black Color Trio Card Challenge

For this week's Penny Black Card Challenge, the theme is to use a trio of colours: purple, green & cream. I chose to do a couple of simple cards in the challenge colours.

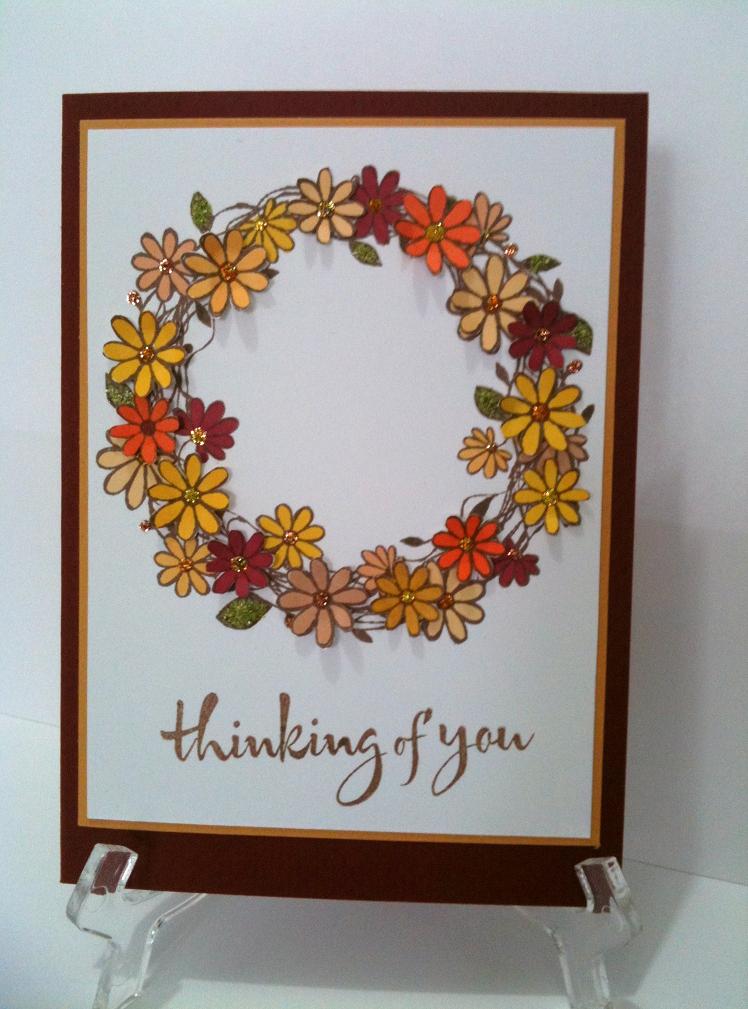
For the first card, I stamped Penny Black 4200K berry wreath using Encore Ultimate Metallic Honeydew ink onto cream cardstock. I then diecut it with Lifestyle Crafts Rounded Nesting Squares die, and matted that onto a slightly larger piece of purple cardstock. This was then attached with foam tape to another two mats diecut with Lifestyle Crafts Nesting Frame 4. I attached a purple bow on with glossy accents, then stuck a few rhinestones to the wreath, and decorated with a mix of stickles and liquid/dimensional pearls. The little greeting is from Penny Black 30-018 crystalline clear set, and is stamped with Brilliance Victorian Violet. All in all a fairly simple card, but I do love the slightly non-traditional Christmas colours.

Would you believe I've never made an Easel card before? Well, I decided to try it out for the next card, and actually found that they were surprising easy to do. Can't believe it took me until now to actually make one! For this card, I first diecut a piece of cream cardstock with Spellbinders Nestabilities Labels 17, then stamped it with Penny Black 40-083 twinkling using Honeydew ink. "Celebrate the Season" from Penny Black 30-086 let it snow was stamped with Encore Ultimate Metallic Purple. The tree was decorated with stickles and liquid/dimensional pearls. The completed image was then layered onto several layers of coloured card, then attached to a card blank, which had had the top piece folded in half.
The greeting on the inside was stamped with Penny Black 4116H a wonderful christmas using Brilliance Victorian Violet, and diecut with Nestabilities Curved Rectangles, before layering onto coloured cardstock. This was then was attached to the card with foam tape, which allows the front of the card to rest against it when the card it opened, forming the easel.

Supplies Used:
Penny Black 4200K berry wreath
Penny Black 30-018 crystalline clear set
Penny Black 40-083 twinkling
Penny Black 30-086 let it snow clear set
Penny Black 4116H a wonderful christmas
Penny Black 3878F simple scroll
Encore Ultimate Metallic Honeydew & Purple
Brilliance Victorian Violet
Lifestyle Crafts Rounded Nesting Squares & Nesting Frame 4
Spellbinder Nestabilities Labels 17 & Curved Rectangles
Stickles Glitter Glue
Liquid Pearls & Dimensional Pearls

Friday, September 16, 2011

Some Quick Boys Cards

My son, who is 5, has been invited to a Pirate-themed birthday party this weekend, so I thought I'd better quickly knock up a card for the Birthday boy.

Supplies Used:
My Favourite Things - Ahoy, Matey! clear stamp set
Hero Arts LP200 Pirate Ink 'n' Stamp set
TRIA markers
Art Stamps Australia Pirate Paper


These were pretty quick and easy to do, just inked and stamped MFT Ahoy, Matey! pirate with Memento Tuxedo Black, then coloured with TRIA alcohol markers. The background was created by randomly stamping images from Hero Arts Pirate Ink 'n' Stamp set, and the Pirate Paper from Art Stamps Australia adds the finishing touch.

Whilst I was at it, I thought I'd make a couple of quick Dinosaur cards too.

Supplies Used:
My Favourite Things - Little Loveosaurus clear stamp set
TRIA markers
EK Success dinosaurs border punch


The dinosaur (or little loveosaurus) was stamped with Memento Black and coloured with TRIA markers. A little bit of stickles was added to the spine. The side of the card was punched with EK Success dinosaur border punch to add some interest.

CR84FN38 Colour Challenge

Guess, what?? I found another Challenge Blog CR84FN and decided to play for the first time in the CR84FN38 - Bright Pink, Black & Gray Color Challenge.

Supplies Used:
Stampendous CRW061 Cling Cupcake XL stamp
TPC Studio Cupcakes rubber cling stamps
Die-namics Fancy Flourish Die
Spellbinders Nestabilities Labels 17& Curved Rectangles
TRIA alcohol markers

I love Cupcake stamps, and have quite a few of them, probably many more than I need, but I find them hard to resist - much like real-life cupcakes, LOL J. I've had this XL cupcake stamp from Stampendous for a while now, but haven't gotten round to using it so decided to get it out for the CR84FN38 Color Challenge. The great thing about cupcakes is that you can pretty much colour them any colour you like. I stamped the Cupcake with Memento Tuxedo Black, coloured in with TRIA alcohol markers, cut out and added a bit of stickles glitter glue. I stamped "You're the sweetest" from the TPC Studio Cupcakes set with Versafine Black, then diecut with a small Nestabilities Curved Rectangles die. The large background labels are Spellbinders Nestabilities Labels 17 (my current favourite - just love the beautiful curved shape of it), with the bottom corners trimmed off. The Flourish is diecut from light vellum using Die-namics Fancy Flourish die (it is so elegant & pretty - love it!) and attach with a small amount of Glossy Accents. A few rhinestones, a ribbon bow, punched flower and button, and all done!!

Tuesday, September 13, 2011

Twin's First Birthday!

Have to admit, I was a bit busy over the weekend, as my best friend's twins were celebrating their first birthday, and I was tasked with the job of making the Birthday Cake! Although I love cooking & baking (and eating, LOL), cake decorating is not really my forte. I opted for the easy option - sprinkles and smarties! Check out the recipe here.

With the cake taking up most of my time and efforts over the weekend, I decided to make a pretty simple card for the boys. The stamp is Penny Black 2072J For You!! I've had it for so many years it's almost an antique (LOL), and it hasn't seen ink in ages, so I decided to get it out for the occasion. The image was stamped in Memento Black, and coloured with TRIA alcohol markers. I diecut the label using Spellbinders Nestabilities Labels Two. I stamped the boys' names with a Mini-alphabet set from Studio G. All in all a pretty quick simple and straightforward card.

Monday, September 12, 2011

Penny Black Simple Stamping Challenge

Here is a set of cards I created for the Penny Black Simple Stamping Challenge. Penny Black 40-087 circles & lines background as well as 4147H special time was stamped with various colours of Brilliance ink, and layered onto coloured and white cardstsock. Paper flowers were added and flourishes were diecut using Die-namics Fancy Flourish die and stuck on with glossy accents. Rhinestones were added to embellish. Where necessary, I coloured the rhinestones with TRIA alcohol markers to match the colours to the cardstock.


Hero Arts Autumn & CAS CFC19 Challenge


Hero Arts CL499

You'd be forgiven for thinking I'd been living under a rock, because I didn't realise that there were SO MANY cardmaking challenge blogs out there! Ha ha! Well... I just came across another one, the CAS-sual Fridays or Clean & Simple Challenge Blog. So this week I'm going to play for the first time in the CAS challenge. The challenge theme is: CFC19: Use paper piecing on your Fall themed Clean And Simple project. Coincidentally, the Hero Arts Blog is also hosting an Autumn-themed Challenge, so naturally I decided to combine my project for both challenges.
 
Autumn-themed projects are not really a big thing here in Australia. In fact, it's not even autumn at the moment, as we are on the other side of the globe, we are actually just heading into spring. Nevertheless, I scoured my craft stash to see if I had any suitable supplies. In the end I found this lovely floral Hero Arts floral wreath stamp from the set CL499 Special Note of Thanks, not exactly an "autumnish" stamp, but I decided to try it in autumn colours. I stamped with Memento Rich Cocoa, and coloured with TRIA alcohol markers. I also stamped the little flower several times and cut them out in order to add the "paper-pieced" element to the project. A little bit of stickles to the center of each flower to finish.

Thursday, September 8, 2011

Hero Arts September 2011 Challenge

It's been a while since I played in the Hero Arts Card Challenge, but I decided to give it a go this month. The Challenge theme was Everything Autumn, or a Color Challenge based on autumnal colours. I had so much fun making backgrounds with distress inks in last weeks Penny Black "Inspire" Challenge that I decided to use the same technique, based around the Challenge colours.

To start, I diecut a piece of white cardstock using Spellbinders Nestabilities Labels Seventeen. I taped the die in place around the diecut with some removeable tape. I then masked off portions of the diecut with scrap card and sponged on various colous of distress inks to create the hilly landscape background. I then stamped the flowers from Hero Arts CL428 Earth Flowers with Versafine Onyx Black, and decorated with Stickles glitter glue. For the greeting, I stamped "JOY" from Hero Arts CL343 Holiday Sayings on white cardstock, punched it out with a circle punch, then lightly distressed the edges with Brushed Corduroy. I layered this onto a scallop circle which I had stamped and fussy cut from Penny Black 30-086 let it snow, then layered this onto a 2" scallop circle punched from cardboard. A scallop border was diecut from cardboard using Die-namics Small Scallop Border Die, and dotted accents added with a white gel pen.


The second card was created in virtually the same way as the first, except I varied the distress ink colours slightly, stamped with Versafine Vintage Sepia, added a few clear rhinestones along with the Stickles glitter glue to the flowers and layered the image onto an additional label diecut from cardboard. I also coloured the rhinestones with TRIA alcohol markers in order to match the colours. The greeting is from one of the Hero Arts Ink 'n' Stamp tub sets.

Supplies Used:

Hero Arts CL428 Earth Flowers
Hero Arts CL343 Holiday Sayings
Penny Black 30-086 let it snow
Distress Inks - Antique Linen, Scattered Straw, Mustard Seed, Brushed Corduroy, Aged Mahogany, Crushed Olive & Shabby Shutters
Versafine - Onyx Black & Vintage Sepia
Spellbinders Nestabilities Labels Seventeen
Stickles Glitter Glue - various
Rhinestones
Scallop circle, circle, oval & photo label Punches

Monday, September 5, 2011

Penny Black "Inspire" Card Challenge 3

These two cards were inspred by Cathy Andronicou's simple yet elegant card.


For this card, I stamped Penny Black 4159K Sundail twice on white cardstock using Memento Tuxedo Black ink. I was trying to recreate Cathy's airbrushed look, but I didn't have an airbrush, so I tried spraying with Glimmer Mist (Popsicle & Pink Bubblegum) instead. Not quite the same, but it'll have to do, LOL J
4159K sundail
 I then added some colour to portions of the image as well as to the outline with TRIA alcohol markers. I cut out the flowers out, and mounted them together with foam tape, added a rhinestone to the middle, and highlighted some areas with Stickles glitter glue.

To create the background, I embossed a piece of white cardstock with Cuttlebug Floral Fantasy, then sponged Memento Lulu Lavender, Distress Spun Sugar & Brilliance Pearlescent Orchid. I added a faux ribbon diecut from white cardstock using Die-namics Scallop Ribbon die and sponged it with Distress Dusty Concord. The greeting is Penny Black 3419D Great Day and is stamped with Versafine Onyx Black and punched with an EK Success oval punch.

4160K cheerful
For the second card, I stamped Penny Black 4160K Cheerful twice on white cardstock. I coloured the flowers and leaves with TRIA alcohol markers, cut them out, and mounted the flower together with foam tape. I added a rhinestone to the centre, and decorated with Stickles glitter glue.

The background was emboosed with Cuttlebug D'vine Swirls and sponged with Distress Worn Lipstick & Bard Door, then lightly sprayed with Pink Bubblegum Glimmer Mist. A green ribbon and "Just for You" from Penny Black 30-087 Winter Wonders clear set completes the card.

Saturday, September 3, 2011

My Flickr photostream

Twinkling4Twinkling3Twinkling5MimiPresentTwinkling2-InspiredbyKathyTwinkling1-InspiredbyKathy
PBstar-inspiredPBConstellations-rainbowMagenta-BirdonbranchPaperificM&T1-berrywreathPaperificM&T1-reveriePaperificM&T1-twinkling
PaperificM&T1-starlitberrywreath-pennyblackelegantchristmasstar-pennyblackelegantcrystalwreath-pennyblackgoldHeroArts-XmasCard-Aug2011-1aPB4160Kcheerful-pinkpurple
stampit-hollybirdstampit-dottytree2stampit-dottytree1PB4160Kcheerful-Aug2011-pinkflowerPB4160Kcheerful-Aug2011-blueflowerPB4160Kcheerful-Aug2011-1

Penny Black "Inspire" Card Challenge 2

Well, as I mentioned in my previous post, I had so much fun making backgrounds for the Penny Black "Inspire" Card Challenge that I thought I'd share a few more of the cards I made. (For supplies list and detailed instructions, check out my previous post).


I was trying to create a sunrise/sunset background on this card, and was really quite happy with how it turned out. The greeting on this card from  Hero Arts LP221 Very Merry Christmas.

This card is pretty similar to my first two, except I used a mix of rhinestones and stickles glitter glue to decorate the tree. I also outline the "twinkle" greeting from Penny Black 30-086 "let it snow" clear set with black diamond stickles. 


Ha ha, I admit I went a little crazy with the colours on this one. Unfortunately as I was stamping the tree image, I slipped a little and ended up with a slightly smudged impression. To remedy that, I thickened the lines on the tree using a black marker to cover up the "smudgy" bits. The greeting is made by Stamp-It Australia.
Related Posts Plugin for WordPress, Blogger...